Join our community of 2000+ keen hunters, Survivalists & campers for free and receive our best tips
No Spam! Just Pure Hunting, Survival & Outdoors Goodness in your Inbox 🏹
Chapter 4
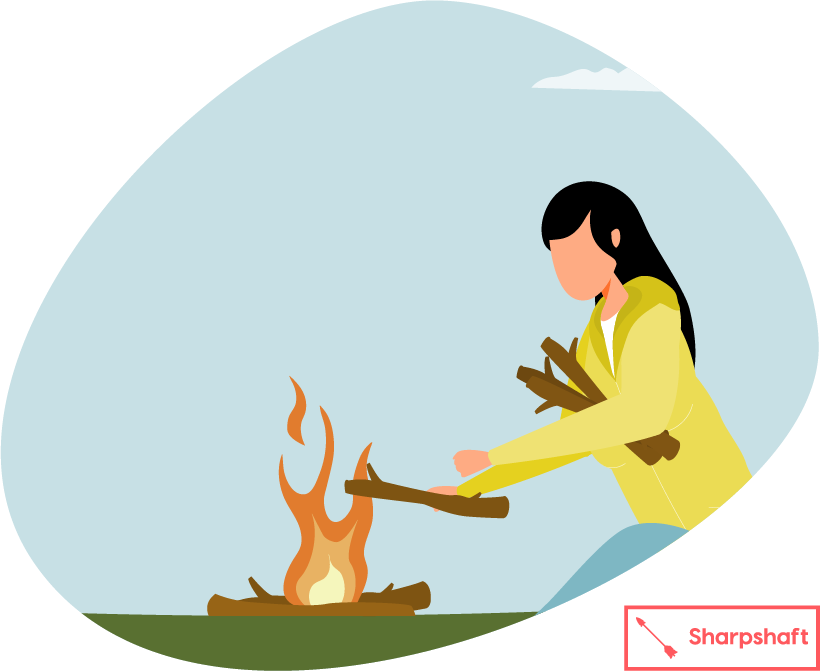
Starting and maintaining a fire is one of the first things you will do in a survival situation. It keeps us warm and dry, as well as being essential to cook food.
In this chapter, we learn how to build and start a fire, from the best structures to use to how to create a spark, and what to do if the weather is against you.
We will also see different survival items that make it far easier to make fire after fire, save energy, and prioritize other needs.

There are various advantages to building a fire, aside from staying warm. First of all, you can use it for cooking any raw food ready for consumption. Eating something warm is also a great way of warming yourself up after getting wet or cold while hunting or preparing a shelter.
Hot Tip: surround your campfire with rocks. Once the fire goes out, the rocks will retain the heat for far longer. Small hot stones can later be used to boil water by placing it in water containers.
Secondly, fire is also a great way of warding off unwanted attention from wild animals. However, bear in mind that this doesn’t work for all species of wild beasts. Bears and raccoons are not put off by a fire. If they’re not of concern, fires – or more particularly their smoke – can help free you of insects and other nocturnal animals.
So now you know the benefits of fire, how do you build one? Firstly, you need to source your tinder, kindling, and fuel.
Tinder is not, in fact, a well-known online dating app, but rather “small pieces of something dry that burns easily, used for lighting fires.” Its primary function is to light the kindling, which ignites the fuel that keeps the fire burning.
There are a few different materials you can use as tinder. While dry grass is a good option, it is quite challenging to pick up and burns quickly. Although pine needles are similarly tricky to handle, they burn slow and strong and are good tinder if you have them available.
Another traditional option is the pine cone. It doesn’t suffer the same time restraints as the grass and pine needles. Dried leaves are also a surefire choice. When not available on the ground, you can find them on trees.
Cedar, birch bark, and palm bark, are also decent fire starters as they tend to be dry and straightforward to harvest.
If all else fails, dried animal dung, although not the best smelling option, will also help you get a decent fire going.
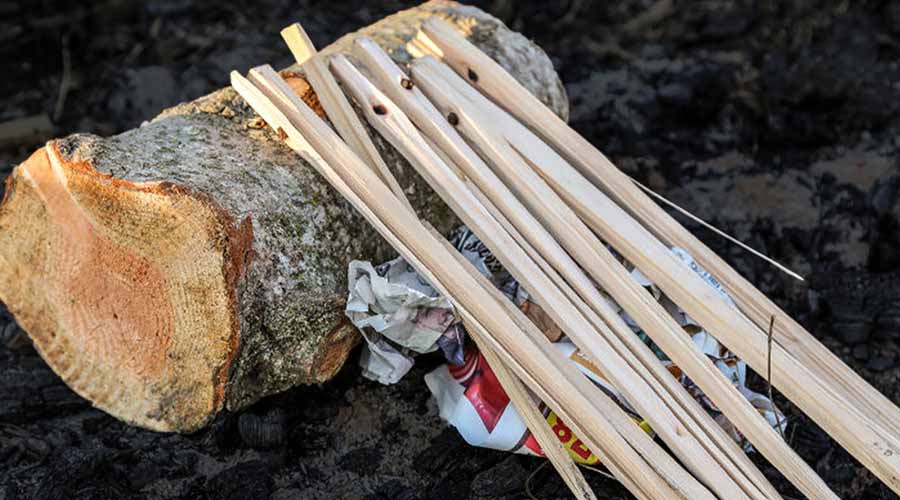
Now you’ve got your tinder, you need to gather small dry sticks – kindling – and then logs or larger pieces of wood as fuel to maintain our fire.
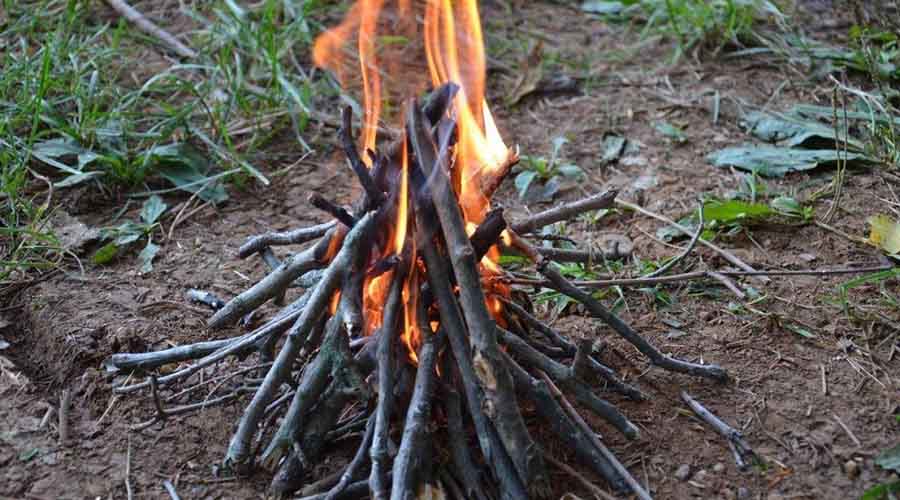
Now you have your materials to hand, build the fire structure, and get everything ready before trying to light it. Think about creating a wind block with larger logs. We’ve got you covered with a few different shapes to work on:
Hot Tip: surround your campfire with rocks. Once the fire goes out, the rocks will retain the heat for far longer. Small hot stones can later be used to boil water by placing it in water containers.

Check out the video or follow the steps:

No Spam! Just Pure Hunting, Survival & Outdoors Goodness in your Inbox 🏹
Next comes the most complicated part: lighting the fire.
Of course, you have a lighter or a (dry) box of matches handy in the ideal world. But given that you’re in a survival situation, this is not always the case.
Some more experienced survivalists will know that one essential piece of kit is a flint set. It’s well worth the small amount of money you invest in it. There are three basic steps to using a flint set. The first is creating your tinder nest, which you have already done. The second is to use one side of the flint to create a bed of flint chips. It doesn’t have to be much bigger than a nickel. The third and final step is to flip your flint over to the other side. Position it on a diagonal close to the flint chips, and, using a knife or scraper, scrape down the flint to create sparks that should light the chips.
An alternative, more rustic method is to use a magnifying glass. I’m sure you all remember learning how to carve your name into a piece of wood using nothing but a magnifying glass and the sun. Well, this is a more productive use for this childhood hack. The first step again is to have our tinder ready. Then you hold your magnifying glass and position it to make the circle of light that comes through the magnifying glass as small as possible. This small circle needs to be over the tinder, which will, in turn, start smoking and catch fire.
Hot Tip: make a support for your magnifying glass to allow you more freedom to help the fire catch.
If you haven’t got a magnifying glass, you can also use a pair of eyeglasses. If you were to have a lightbulb available, you could fill it with water, and it too should work like a magnifying glass. An alternative but similar option is a plastic bottle, focusing the sun through the bottle’s convex part.
The biggest downside with this technique, of course, is that you need sun, and if you have sun, you have less of a need for the fire.
There are also a few more advanced techniques. First of all, there is the good old fashioned friction fire. You need a hearth board, a spindle, and a nest/similar tinder. The hearth board is a small piece of wood that you want to have grains and be reasonably porous. The spindle should also be a lightweight stick, and the nest should be made of longish fibers that you can twist together tightly. It will help them to catch better.
Start by making a small starter hole in your hearth board. Put the spindle in the starter hole. Position yourself so you’re comfortable but able to put a little weight into your spindle. Rub the spindle between your hands to make it turn, stopping once you see a little smoke.
Next, cut a small nook connecting the hole you’ve made to the outside of the hearth board. Position a small flat piece of wood under the nook to catch the coal. Repeat the process of rubbing the spindle between your hands, creating as much friction as you can by pushing in and down. You’ll see that a small amount of smoking coal accumulates on the piece of wood.
Transfer this to the nest and push the nest together, blowing into the nest to oxygenate the fire as needed. You can then lay the nest down and begin to add kindling.
Another advanced option is using a AA battery and the spring of a ballpoint pen. Start by opening one end of the spring to make a long, straighter wire. Next, cut around the edge of the battery wrapper close to the negative terminal and remove the wrapping. Place the metal wire onto the negative end of the terminal, and you’ll see that within a few seconds, it will get red hot. Note that it is advisable to hold onto the spring end so as not to burn yourself.
You can then take some of your tinder (in this case, a Q-tip or similar is preferable). Position it close enough to the wire that the heat transfers, and it catches on fire.
Whichever method you use, breathe steadily on the flame to help it catch with more tinder. Slowly add kindling, and, once the fire is going, you’ll want to add larger fuel bit by bit.
So there you go. Congratulations on building your first fire in the wilderness.
But what about building one on a wet, rainy day? Ironically, when you most need a fire is usually in the most challenging conditions to build them.
When making a fire on a wet day, step one is to find a dry area or some coverage to act as a shelter and give you more protection from the rain. If the water is falling directly on the wood and the flame, there is little to no chance of you making a successful fire.
It’s also a good idea not to use a traditional fire pit. It will fill up with water and make it even harder for the fire to get started and burn well. Dig drainage to maintain drier ground underneath. Build it on a slight incline, with a tunnel on the lower side to drain water. It will prevent the pit from filling up.
Next, you need to find dry pieces of wood. Damp wood is unlikely to catch fire and allow you to keep warm. You can often find dry wood under thick canopies. If you find wood that is only a little wet, try stripping back the first layers of bark on the outside. There is often salvageable wood inside. If your wood is damp even after removing the outer bark, break the wood into smaller pieces as it will burn better.
If all else fails, look for trees like pine trees, which have needle bearing leaves. These are very flammable and will burn better even when damp. The smaller the material you start with, the better.
If you can’t find any dry kindling or needle bearing leaves, try making a feather stick to light a fire. The ideal material for this is a dry, dead branch that is still attached to a tree. The best trees are those with plenty of resin, like pine trees, because they burn better. To make a feather stick, carve small curls into the branch with a pocket knife. Use a downward slicing action, as shown in this video.
You can then use this feather stick as the first source of fuel for your fire.
Hot Tip: don’t build your fire on the floor. Build it on a small wooden stand so that your kindling or shavings don’t soak up so much water.
Once you’ve got your initial fire started, use as much kindling and small fuel as you can. Pile on as much kindling as possible to help the wood dry a little before it comes into contact with the flame.
Place logs and larger pieces of wood on the top to act as a shelter from falling rain. Remember, this will smother the fire, though, so use a big sheet of plastic, or something similar, to fan the fire to give the fire enough oxygen to burn.
Before setting off, if you know that you are going to need to make a fire, there are a few things that you can take with you to make the process easier.
You could make some char cloth; useful because it ignites easily. It’s perfect for the flame-starting techniques mentioned above. You can make char cloth by taking some 100% cotton cloth and cutting it into small pieces. Place the cloth inside a small airtight tin which you have made a small hole in the top of (or else risk a small pressure explosion). Then put the tin on a calm fire or embers. You’ll see smoke coming out, and the char cloth will be ready to remove from the fire when this smoke stops appearing.
Hot Tip: do NOT be impatient and open the tin straight away. Wait for it to cool first to avoid burning yourself or ruining your char cloth. The rush of oxygen produced when you open the tin may cause it to burst into flames.
If you can pack supplies, you may want to consider taking cotton balls and Vaseline. Prepare them at home by covering a cotton ball in Vaseline, and take them with you in a little plastic bag. They are so effective at creating a waterproof flame.
Hand sanitizer will also create quite the effect due to its alcohol base. People often carry hand sanitizer around in their first aid kits. You can add a drop of it to your tinder to make the fire starting process much faster and easier. Remember to be careful as the alcohol usually burns clear, so don’t touch it!
Having the right materials is hugely beneficial to starting a fire, although, with practice, you can learn to do so even in the harshest conditions.
In the next chapter, we’ll look at nutrition in the wild. There are abundant food sources, but hunting, fishing, and foraging are learned skills that you must master to stand a chance of survival.
Your 101 Guide to the best crossbow, ground blind, and tree stand reviews.
Important Disclaimer: I am a participant in the Amazon Services LLC Associates Program, an affiliate advertising program designed to provide a means for me to earn fees by linking to Amazon.com and affiliated sites. As an Amazon Associate I earn from qualifying purchases.